Cheese Rose Tutorial: An Amazing Ultimate Guide to 10 Beautiful Creations
Cheese Rose Tutorial reveals the incredible potential of culinary artistry using cheese. This elegant technique combines creativity with simplicity, transforming ordinary cheese into stunning delicacies. The process involves crafting beautifully shaped roses that can elevate your platters, impress guests, and spark conversations. Whether you’re hosting a party or simply looking to add charm to dinner, this Cheese Rose Tutorial is your go-to resource.
In this guide, you’ll delve into the reasons why this cheese decoration method is so beloved, what you need to get started, and step-by-step instructions to create these delightful shapes. By following this tutorial, you’ll achieve amazing results that will undoubtedly receive admiration. Let’s explore the art of cheese roses together and discover your next culinary masterpiece!
Why You’ll Love This Recipe
Cheese roses offer a myriad of benefits that make the process rewarding. Here are some reasons why this Cheese Rose Tutorial is something you’ll be eager to try:
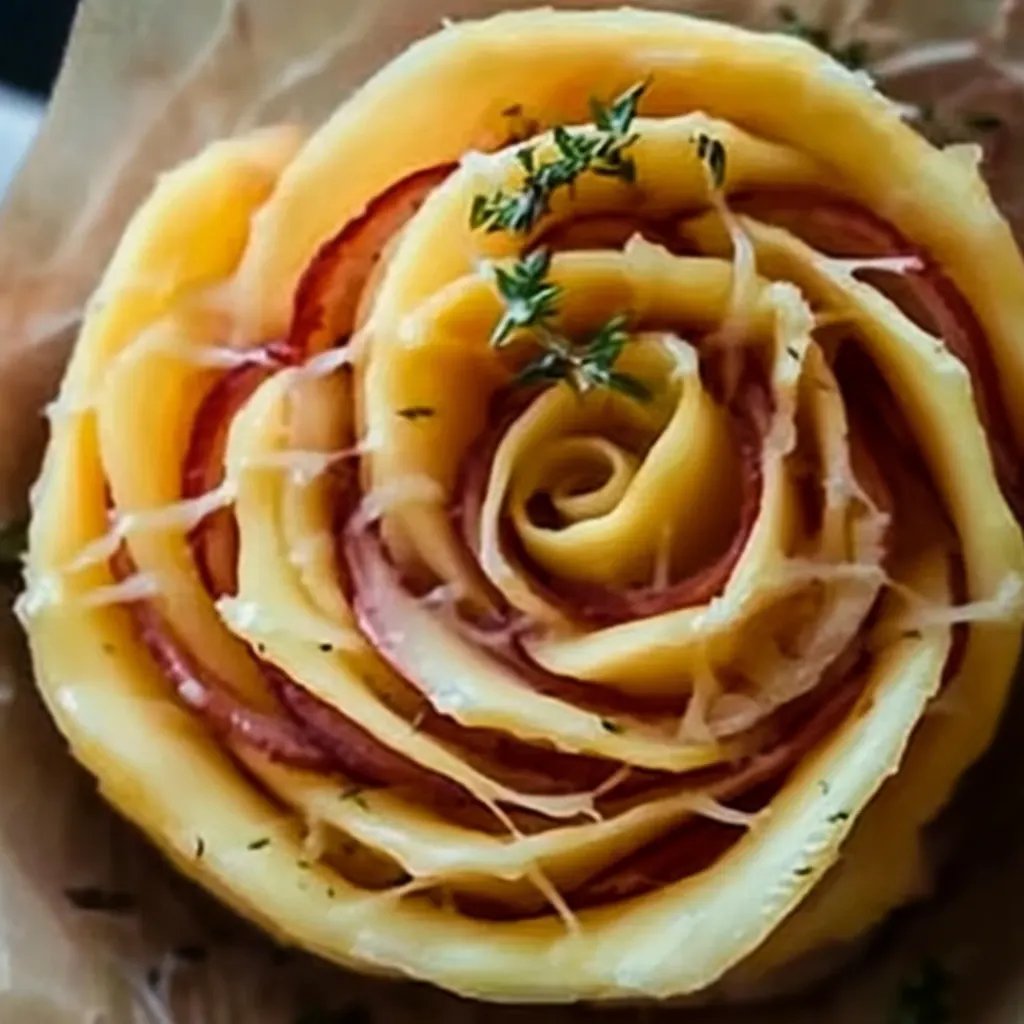
1. Visually Stunning: The beautiful shapes transform a standard cheese platter into a show-stopper.
2. Creative Expression: It allows you to express creativity and impress guests with unique presentation.
3. Easy to Make: Despite their intricate look, cheese roses are straightforward to prepare, making them accessible for all skill levels.
4. Versatile Ingredients: You can use various types of cheese, tailoring flavors to suit any preference or occasion.
5. Great for Any Occasion: Whether it’s a casual gathering, a wedding, or a festive celebration, cheese roses enhance the atmosphere.
6. Fun Activity: Involving family or friends in the creation process adds joy and laughter to your culinary experience.
The delightful aesthetic and ease of creating cheese roses make them a truly enjoyable endeavor to elevate any platter.
Preparation and Cooking Time
Creating stunning Cheese Roses is simple and quick. The overall time for crafting these lovely decorations is usually around 30 minutes. Here’s a breakdown:
– Preparation Time: 10 minutes
– Crafting Time: 20 minutes
This timing may vary depending on how many cheese roses you intend to create, but it gives you a good estimate!
Ingredients
– 1 block of soft cheese (like goat cheese or cream cheese)
– 1 block of harder cheese (like cheddar or gouda)
– Fresh herbs (like chives or basil, for garnish)
– Optional toppings (like crushed nuts or edible flowers)
– A sprinkle of paprika (for added color)
Step-by-Step Instructions
Follow these steps to create stunning Cheese Roses that will enchant everyone at your gathering:
1. Select Your Cheese: Choose both soft and hard cheese for contrast in texture.
2. Soften the Soft Cheese: Let soft cheese sit at room temperature until it’s spreadable.
3. Slice the Hard Cheese: Using a sharp knife, cut the hard cheese into thin slices or a cheese plane for more uniformity.
4. Shape the Roses:
– Take a slice of hard cheese and mold it into a petal shape, rounding the edges.
– Repeat this process to create several petals (usually 5-7 per rose).
5. Construct the Rose:
– Start with one petal and roll it tightly to form the center of the rose.
– Gradually add more petals around the center, arranging them at different angles.
6. Secure the Shape: If the cheese doesn’t hold, you can use a toothpick to stabilize the petals gently.
7. Garnish: Once the roses are shaped, sprinkle with paprika or add crushed nuts for visual appeal.
8. Chill (Optional): For firmer roses, place them in the fridge for 10-15 minutes before serving.
9. Final Presentation: Arrange the cheese roses on a platter, adding fresh herbs or edible flowers for beauty.
10. Enjoy: Serve your amazing cheese roses as a centerpiece or alongside your favorite crackers and fruits.
Creating these Cheese Roses can be a delightful process. Watch each blossom take shape under your hands!
How to Serve
Serving your Cheese Roses well enhances the experience. Here are a few tips:
1. Platter Arrangement: Place roses artfully on a charcuterie board alongside cuts of meats, crackers, and fruit to create an inviting spread.
2. Accompaniments: Provide a selection of dips or spreads, such as honey or fruit preserves, to complement the flavor of the cheese.
3. Elevate the Experience: Use beautiful serving dishes or boards that enhance the overall aesthetic of the cheese roses.
4. Pair with Wine: Cheese naturally pairs well with wine. Consider serving red, white, or sparkling options that match the types of cheese used.
5. Offer Variety: Create different variations of cheese roses, experimenting with flavors and types of cheese to discover delightful combinations.
6. Personal Touch: Encourage guests to build their own cheese creations, adding to the interactive fun of your gathering.
Taking time to consider these serving options will ensure your cheese roses dazzle your guests and leave a lasting impression.
Additional Tips
– Use Fresh Ingredients: Ensure that your cheese is fresh to achieve the best taste and texture in your Cheese Roses.
– Experiment with Cheese Types: Different cheeses can bring unique flavors. Try using various cheeses for a fun twist.
– Keep Your Cheese Cold: If your soft cheese becomes too warm, it may be difficult to work with. Keep it cool until you’re ready to use it.
– Practice Your Petal Shapes: The more you practice shaping the petals, the better your roses will look. Don’t be afraid to make a few practice roses!
– Have Fun with Colors: Adding herbs or edible flowers can enhance the visual appeal, making your cheese roses stand out even more.
Recipe Variation
Explore these creative variations to personalize your Cheese Roses:
1. Herb-Infused Cheese: Mix your soft cheese with fresh herbs like dill, thyme, or rosemary for added flavor.
2. Mixed Cheese Blend: Create a blend of your favorite cheeses—gouda, mozzarella, and cheddar—for diverse textures and tastes.
3. Colorful Petals: Use colored cheeses such as smoked cheddar to create visually striking petals that catch the eye.
4. Sweet Cheese Roses: Substitute the savory ingredients with sweet cream cheese and top them with fruits or chocolate shavings for a dessert twist.
Freezing and Storage
– Storage: Store any leftovers in an airtight container in the refrigerator. They are best enjoyed fresh but can last up to three days.
– Freezing: While fresh cheese roses are not the best for freezing due to texture changes, you can freeze the blocks of cheese before crafting them into roses. Ensure they are well-wrapped to prevent freezer burn.
Special Equipment
You won’t need much beyond the basics, but here are some helpful tools:
– Cheese Knife: A sharp cheese knife helps cut consistent slices for your rose petals.
– Mixing Bowl: Useful for mixing herbs or seasonings into your cheese.
– Cutting Board: A sturdy board will make slicing and shaping the cheese much easier.
– Toothpicks: Handy for stabilizing your roses if they don’t hold their shape.
Frequently Asked Questions
Can I use pre-sliced cheese for this recipe?
Yes, pre-sliced cheese can save you time. Just ensure it’s a suitable thickness for shaping into petals.
Can I make Cheese Roses in advance?
Absolutely! You can prepare them a few hours before serving; just cover them and store them in the refrigerator.
Are there vegan options for this recipe?
Yes, vegan cream cheese and other plant-based cheeses can be used to create beautiful vegan cheese roses.
What if my cheese is too soft?
Allow it to chill in the refrigerator for a bit to firm up if your cheese is too soft to shape.
Can I use flavored cheeses?
Definitely! Flavored cheeses can add an unexpected twist to your cheese roses.
Conclusion
Creating Cheese Roses is a delightful and artistic way to elevate any gathering. With a mix of creativity and technique, this Cheese Rose Tutorial allows you to impress friends and family alike. The process is enjoyable, and the results are visually stunning and tasty. You can adapt this craft to various tastes or events, ensuring it remains a go-to choice for your entertaining needs. So gather your ingredients, get creative, and enjoy the beauty of culinary decoration with cheese roses!