Cheesy Garlic Rolls: An Incredible Ultimate Recipe That Will Amaze You
Cheesy Garlic Rolls are a delightful treat that no bread lover should miss. These soft, fluffy rolls packed with gooey cheese and a rich garlic aroma will light up any dinner table. Whether you are having a casual family dinner or entertaining guests, these rolls are sure to be a hit. Their warm, buttery flavor combined with the savory essence of garlic creates an amazing culinary experience.
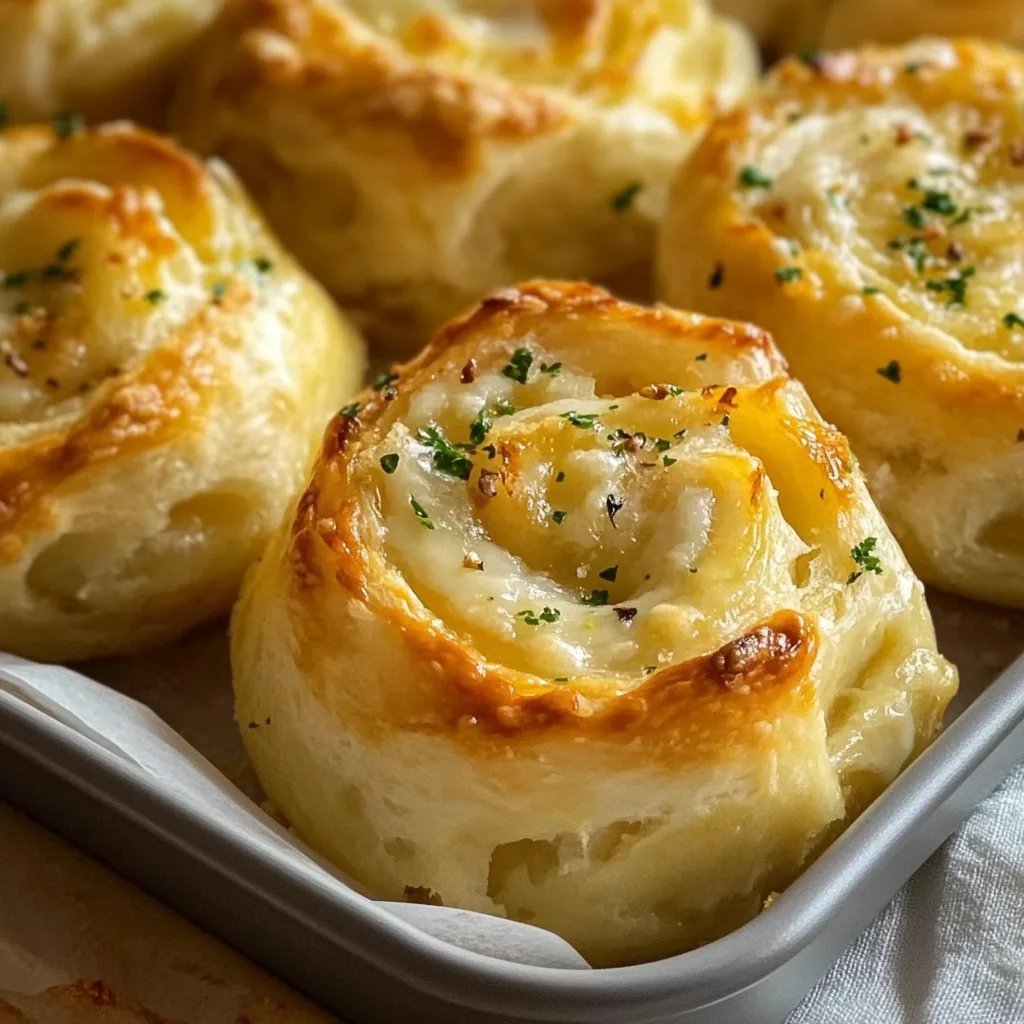
Imagine biting into a freshly baked Cheesy Garlic Roll; the melted cheese flows out, mingling perfectly with the garlic butter. It’s an indulgent moment that makes any meal special. In this guide, you’ll discover why this recipe is a must-try, how to prepare these delectable rolls, and the best ways to serve them. Get ready to embark on a journey that will elevate your bread game and impress everyone around you!
Why You’ll Love This Recipe
Cheesy Garlic Rolls come with a host of wonderful attributes that will capture your heart. Here’s why you’ll fall in love with this incredible recipe:
1. Simplicity: The ingredients are straightforward and easily available at any grocery store. You won’t need to go on a scavenger hunt for exotic items.
2. Versatility: This recipe is adaptable. You can tweak it to suit different cheese varieties or add your favorite herbs for a twist.
3. Perfect for All Occasions: Whether it’s a family get-together, a holiday feast, or a cozy night in, these rolls fit right in.
4. Fluffy Texture: The soft, pillowy texture of the rolls will make them your new favorite side dish.
5. Cheesy Goodness: The combination of cheese and garlic is a classic that never disappoints. It’s a flavor combination that virtually everyone adores.
6. Easy to Follow: The clear steps ensure that even beginner bakers can succeed in making these rolls feel like a professional bake.
Once you try making Cheesy Garlic Rolls, you will understand why they have earned a place in kitchens worldwide. With every bite, you’ll experience a celebration of flavor in the simplest form—now, let’s get started!
Preparation and Cooking Time
Creating the perfect Cheesy Garlic Rolls will take you time and patience, but the results are nothing short of spectacular. Here’s how the timing breaks down:
– Preparation Time: 25-30 minutes
– Rising Time: 1 hour (including dough rise)
– Baking Time: 20-25 minutes
– Total Time: About 1 hour and 55 minutes
Ensure to have all your ingredients ready, as a little pre-planning will make your cooking journey smoother!
Ingredients
– 3 ½ cups all-purpose flour
– 1 packet (2 ¼ teaspoons) active dry yeast
– 1 cup warm water (110°F or 43°C)
– ¼ cup granulated sugar
– 1 teaspoon salt
– ¼ cup unsalted butter, melted
– 2 cloves garlic, minced
– 1 cup shredded mozzarella cheese
– ½ cup grated Parmesan cheese
– 2 tablespoons fresh parsley, chopped (optional)
– ¼ teaspoon black pepper
– Extra melted butter for brushing on top
Step-by-Step Instructions
Creating Cheesy Garlic Rolls can be a fun and rewarding experience if you follow these straightforward steps:
1. Activate Yeast: In a mixing bowl, combine warm water, sugar, and yeast. Let it sit for 5-10 minutes until frothy.
2. Mix Wet Ingredients: Stir in melted butter and minced garlic.
3. Combine Dry Ingredients: In a separate bowl, whisk together the flour, salt, and black pepper.
4. Form Dough: Gradually add the dry ingredients to the wet mixture, stirring until combined. The dough should be slightly sticky but manageable.
5. Knead Dough: Turn the dough onto a floured surface and knead for about 5-7 minutes until it becomes smooth and elastic.
6. First Rise: Place the dough in a greased bowl, cover it with a damp cloth, and let it rise in a warm place for about 1 hour or until it doubles in size.
7. Prepare Cheese Filling: In a bowl, mix together: mozzarella cheese, grated Parmesan cheese, and chopped parsley (if using).
8. Shape Rolls: Punch down the risen dough and divide it into 12 equal pieces. Flatten each piece into a small circle, place a generous spoonful of cheese filling in the center, and pinch the edges to seal.
9. Second Rise: Arrange the filled rolls on a greased baking tray. Cover and let them rise for another 30 minutes.
10. Preheat Oven: Preheat your oven to 375°F (190°C).
11. Bake: Brush the tops of the rolls with melted butter and sprinkle any leftover cheese on top. Bake in the preheated oven for 20-25 minutes until golden brown and cheesy.
12. Cool and Enjoy: Remove from the oven, let cool slightly, and serve warm for the best experience.
How to Serve
Once your Cheesy Garlic Rolls are out of the oven, here are some tips on how to serve them to delight your guests:
1. Presentation: Serve the rolls warm in a pretty bread basket lined with a cloth. This keeps them warm and adds an elegant touch.
2. Dipping Sauces: Pair with marinara sauce or garlic butter for dipping; these enhance the flavors beautifully.
3. Herb Garnish: Sprinkle fresh herbs, like parsley or chives, over the top for added freshness and visual appeal.
4. Accompanying Dishes: These rolls complement a variety of dishes, from soups to pasta, making them a versatile addition to any meal.
5. Leftovers: Store any leftover rolls in an airtight container at room temperature. Reheat in the oven for a few minutes to restore their gooey cheese texture.
With these serving tips, your Cheesy Garlic Rolls will shine bright at any meal and leave everyone asking for the recipe! Enjoy!
# Additional Tips
– Use Fresh Ingredients: Ensure your yeast is active for the best rise. Always check the expiration date.
– Measure Accurately: Use a kitchen scale for precise measurements, especially for flour.
– Experiment with Herbs: Consider adding dried oregano, rosemary, or thyme to the dough for a flavorful twist.
– Let Rolls Cool Slightly: Allow the rolls to cool for a few minutes before serving to keep the cheese from being too gooey.
Recipe Variation
Feel free to get creative with your Cheesy Garlic Rolls! Here are some enticing variations to consider:
1. Spicy Twist: Add sliced jalapeños or red pepper flakes to the cheese filling for a kick.
2. Herb-Infused: Incorporate mixed herbs into the dough, such as basil or parsley, for added flavor.
3. Different Cheeses: Try using cheddar, gouda, or feta cheese for a different taste, or a combination of your favorites.
Freezing and Storage
– Storage: Keep any leftover Cheesy Garlic Rolls in an airtight container at room temperature for up to 2 days.
– Freezing: To freeze, tightly wrap the baked rolls in plastic wrap and then in aluminum foil. They can be stored in the freezer for up to 3 months. Reheat in the oven before serving.
Special Equipment
To make Cheesy Garlic Rolls successfully, you may need the following tools:
– Mixing bowls: For combining ingredients.
– Measuring cups and spoons: Essential for accurate measurements.
– A rolling pin: This will help flatten the dough easily.
– Baking sheet: For arranging the rolls to bake.
– A kitchen towel: To cover the dough while it rises.
Frequently Asked Questions
Can I use whole wheat flour instead of all-purpose flour?
Yes, you can substitute some of the all-purpose flour with whole wheat flour. Keep in mind that this may change the texture slightly.
How do I fix my dough if it’s too sticky?
If the dough is overly sticky, gradually add a bit more flour until it reaches a manageable consistency.
Is it possible to make the dough ahead of time?
Absolutely! You can prepare the dough the day before. Just let it rise and then store it in the refrigerator after the first rise. Bring to room temperature before shaping.
Can I use pre-shredded cheese?
Yes, you can use pre-shredded cheese to save time, but fresh cheese typically melts better and has a superior flavor.
How do I know when my rolls are fully baked?
The rolls should be golden brown and sound hollow when tapped on the bottom. A toothpick inserted into the center should come out clean.
Conclusion
Cheesy Garlic Rolls are more than just a side dish; they’re a centerpiece that brings joy and flavor to any meal. With their buttery, cheesy goodness and irresistible aroma, these rolls are bound to impress everyone at the table. Whether you stick to the classic recipe or experiment with different variations, you’re sure to end up with a dish that everyone loves. Your journey into baking these rolls is just beginning, and each attempt will bring you closer to that perfect, gooey bite!