Easy Marshmallow Swirl Fudge: An Amazing Ultimate Recipe
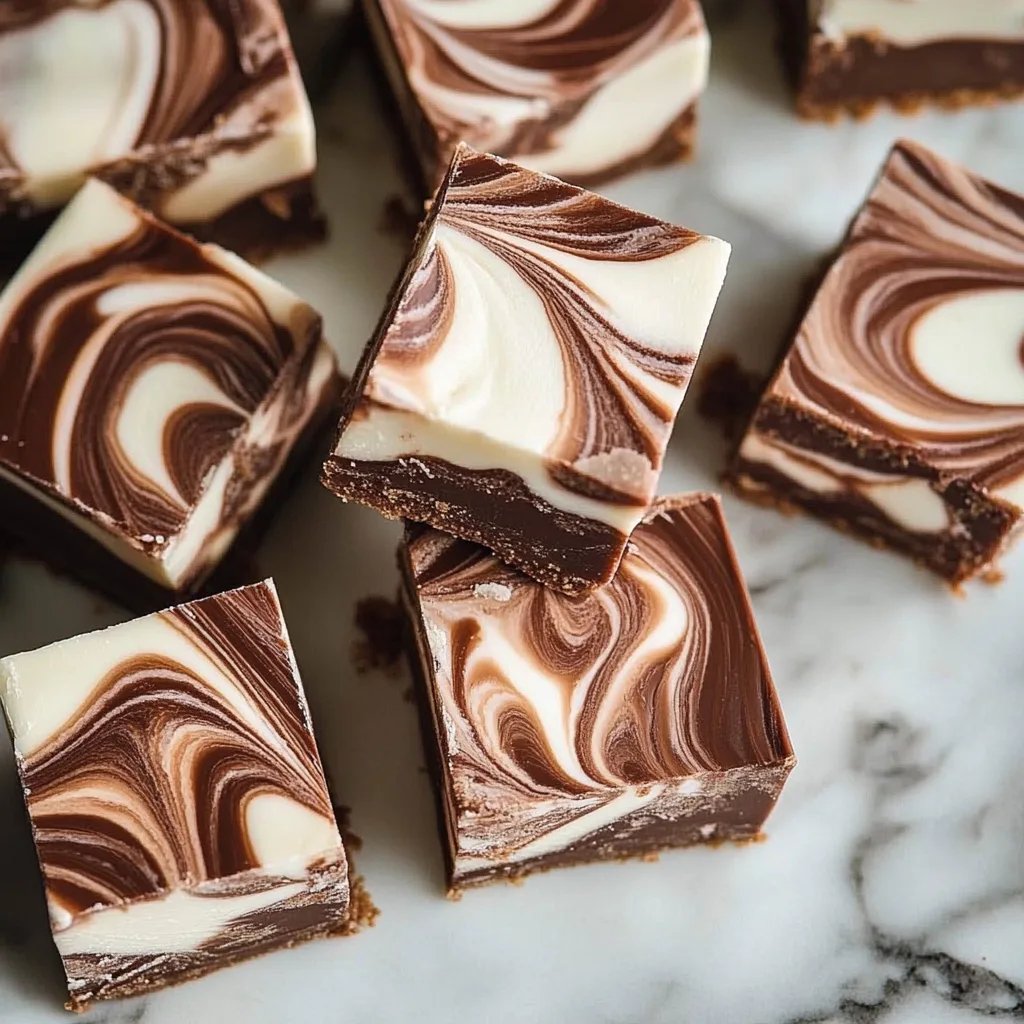
Easy Marshmallow Swirl Fudge is a delightful treat that everyone loves. This fudge blends rich chocolate with airy marshmallow perfectly, creating a dessert that’s hard to resist. With its sweet layers and creamy texture, it’s not just another snack; it’s an experience that brings joy and nostalgia. Homemade fudge has a special charm—its ability to evoke memories of family and friends gathered around during holidays and special occasions. In this article, we’ll explore the incredible world of Easy Marshmallow Swirl Fudge, guiding you through what makes this recipe a must-try, how to create it, and tips on serving it in style.
If you’ve ever indulged in a piece of fudge, you know why it holds such a special place in the hearts of dessert lovers. The combination of sweet chocolate and fluffy marshmallow creates a flavor profile that tantalizes the taste buds. This fudge is perfect for parties, holiday gatherings, or simply to enjoy at home while watching a movie. It’s incredibly easy to make, requiring just a few ingredients to achieve gourmet results.
This amazing, ultimate recipe is suitable for both novice bakers and seasoned pros. Once you grasp the simple process, you’ll want to make this fudge again and again. It’s an excellent way to introduce kids to baking, allowing them to get creative by swirling the marshmallow through the chocolate. So, let’s dive into this mouthwatering treat that promises to elevate your dessert game!
Why You’ll Love This Recipe
Easy Marshmallow Swirl Fudge is not just delicious; it’s packed with benefits. Here are some compelling reasons why this recipe stands out:
1. Quick and Easy – It takes minimal time to prepare and requires no baking.
2. Few Ingredients – Most of the items are pantry staples, making it an accessible treat.
3. Perfectly Decadent – Rich chocolate balanced with sweet marshmallow makes it utterly satisfying.
4. Versatile – You can add nuts, sprinkles, or flavored extracts to customize it to your liking.
5. Great for Gifting – Package it nicely, and you have a thoughtful homemade gift.
6. Family Fun – Making this fudge with loved ones can be a fun activity for adults and kids alike.
As you can see, Easy Marshmallow Swirl Fudge checks all the boxes for a delightful dessert that is both fun to make and wonderful to eat.
Preparation and Cooking Time
Creating Easy Marshmallow Swirl Fudge is a straightforward process. Here’s an overview of the time required:
– Preparation Time: 15 minutes
– Chilling Time: 2 hours (or until set)
With a total time of just over two hours, including chilling, you can have this treat ready to serve without spending a whole day in the kitchen!
Ingredients
– 2 cups semi-sweet chocolate chips
– 1 cup sweetened condensed milk
– 1 cup miniature marshmallows
– 1 teaspoon vanilla extract
– 1/4 teaspoon salt
– 1/2 cup chopped nuts (optional)
– Extras: A few extra marshmallows for topping, if desired
Step-by-Step Instructions
Making Easy Marshmallow Swirl Fudge is a simple process that anyone can follow. Here’s how:
1. Prepare the Pan: Line an 8×8 inch baking dish with parchment paper, leaving some overhang for easy removal later.
2. Melt the Chocolate: In a microwave-safe bowl, combine the semi-sweet chocolate chips and sweetened condensed milk. Microwave in 30-second intervals, stirring in between, until fully melted and smooth.
3. Add Flavor: Stir in the vanilla extract and salt until well combined.
4. Incorporate Marshmallows: Gently fold in the miniature marshmallows and chopped nuts if using. Be careful not to crush the marshmallows.
5. Pour into the Pan: Spoon the chocolate mixture into the prepared baking dish, spreading it evenly with a spatula.
6. Swirl the Marshmallow: If desired, take a few additional marshmallows and place them on top. Use a toothpick or skewer to swirl them slightly into the fudge mix for a beautiful effect.
7. Chill: Cover with plastic wrap or foil and refrigerate for about 2 hours or until fully set.
8. Slice and Enjoy: Once set, lift the fudge out of the pan using the parchment overhang. Cut into small squares and serve.
These straightforward steps highlight the ease of creating this delectable fudge while ensuring a visually stunning and tasty result.
How to Serve
Serving Easy Marshmallow Swirl Fudge can be an occasion in itself. Here are some suggestions to elevate your presentation:
1. Presentation Matters: Serve the fudge on a decorative plate or cake stand to highlight its beauty.
2. Garnish: Dust with powdered sugar or drizzle with extra melted chocolate for a gourmet touch.
3. Pairing: Complement with a scoop of vanilla ice cream on the side or serve with fresh berries for a refreshing contrast.
4. Gift Packaging: For gifting, wrap pieces in cellophane and tie them with a ribbon. Personalized labels can add a lovely final touch!
5. Portion Sizes: Cut into bite-sized squares; they are perfect for guests to take one or two without guilt.
Through carefully planned servings, you can make your Easy Marshmallow Swirl Fudge not just a treat, but an experience that your family and friends will remember!
Now that you have all the details needed to make this scrumptious Easy Marshmallow Swirl Fudge, gather your ingredients and start stirring! Your kitchen is bound to fill with delicious aromas, making it impossible for anyone to resist. Enjoy your sweet adventure!
Additional Tips
– Use Fresh Ingredients: Ensure that your marshmallows and chocolate chips are fresh for the best results. Stale ingredients can affect the texture and flavor of your fudge.
– Experiment with Flavors: You can swap the vanilla extract for almond or mint extract to give your fudge a unique twist.
– Let Them Cool: If your fudge is too warm, the marshmallows may lose their shape. Allow it to cool slightly before adding them to the mixture.
Recipe Variation
Explore exciting variations to personalize your Easy Marshmallow Swirl Fudge:
1. Peanut Butter Swirl: Add a dollop of peanut butter to the chocolate mixture before swirling to create a delicious peanut butter fudge.
2. Cookie Crumble: Incorporate crushed cookies, such as Oreos or graham crackers, into the fudge for added texture and flavor.
3. Seasonal Flavors: For a festive touch, mix in peppermint extract during the winter holidays or orange extract in the spring for a refreshing citrus flavor.
Freezing and Storage
– Storage: Keep your Easy Marshmallow Swirl Fudge in an airtight container in a cool place or in the refrigerator for up to one week.
– Freezing: If you want to store fudge for longer, wrap it in plastic wrap and place it in a freezer-safe container. Properly stored fudge can last up to three months in the freezer. Simply thaw at room temperature before serving.
Special Equipment
You won’t need much to make this delicious fudge. Here’s a list of essential tools:
– Microwave-safe bowl for melting chocolate
– Parchment paper for lining the baking dish
– Spatula for spreading the mixture evenly
– Toothpick or skewer for swirling marshmallows
– Baking dish (8×8 inches)
Frequently Asked Questions
Can I use white chocolate instead of semi-sweet?
Yes! Feel free to replace semi-sweet chocolate chips with white chocolate chips for a different flavor.
What if I don’t have sweetened condensed milk?
You can make a homemade version by simmering regular milk and sugar; however, it’s best to use sweetened condensed milk for this recipe.
Can this be made dairy-free?
Absolutely! Substitute with dairy-free chocolate chips and coconut or almond milk to make a delicious dairy-free version.
Why didn’t my fudge set properly?
If your fudge hasn’t set, it might be due to insufficient chilling time. Make sure to refrigerate for at least 2 hours or until fully firm.
How can I tell when my fudge is ready to cut?
The fudge should feel firm to the touch and hold its shape when gently pressed.
Conclusion
Easy Marshmallow Swirl Fudge is a delightful treat perfect for any occasion. Its rich flavor and simple preparation make it a go-to dessert for both novice bakers and seasoned pros. With endless variations, this fudge is sure to impress family and friends alike. So, gather your ingredients, follow the steps, and enjoy creating this sweet sensation in your kitchen!