Homemade Apple Pie Filling Recipe: An Amazing Ultimate Guide for 5 Ways
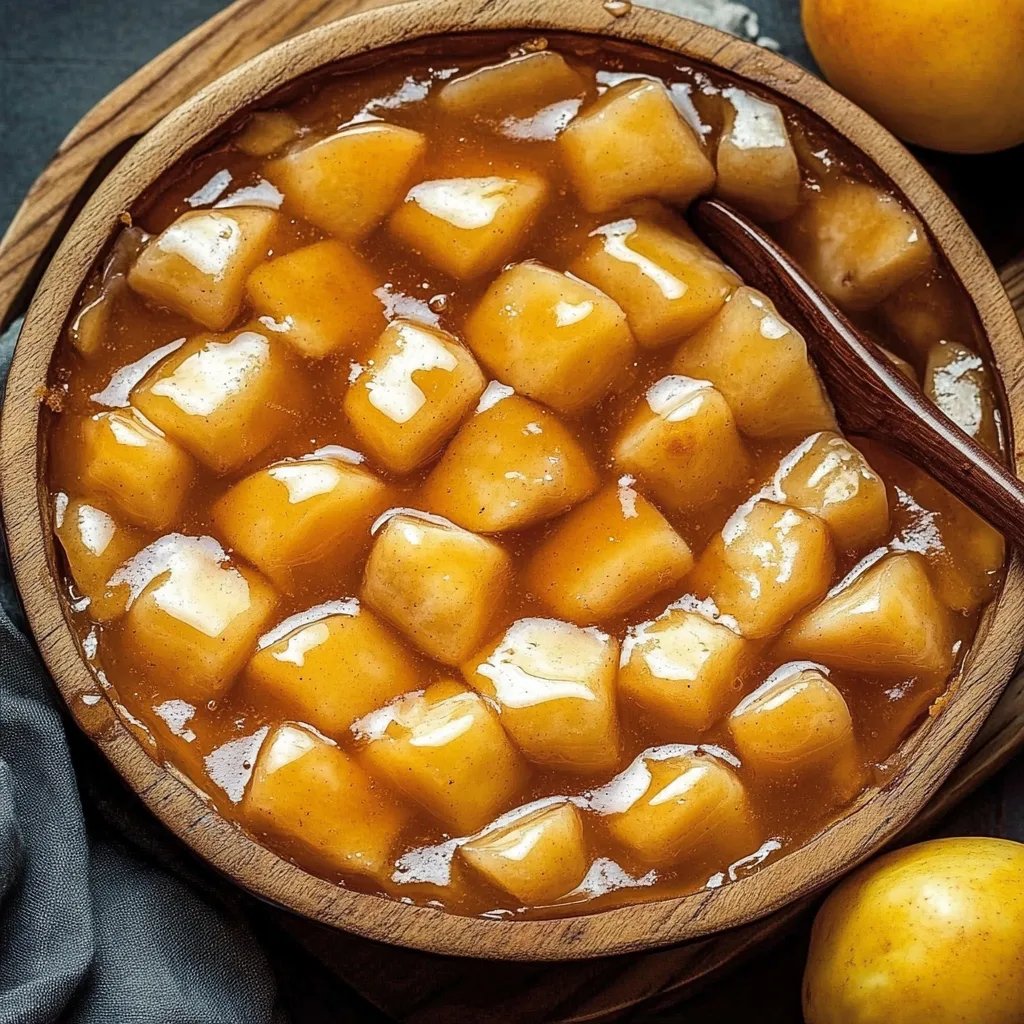
Homemade Apple Pie Filling Recipe is a delightful way to elevate your baking skills and bring the flavors of fall into your kitchen all year round. Whether you’re preparing for a holiday feast, a family gathering, or just a cozy night in, this recipe serves as a wonderful base for one of America’s favorite desserts. Imagine warm, cinnamon-spiced apples baked into a flaky crust, emitting an irresistible aroma that fills your home.
This apple pie filling is not just about taste; it’s about creating memories with those you love. By making it from scratch, you control the sweetness and spice levels, ensuring perfection in every bite. If you’ve ever enjoyed a slice of homemade apple pie, you know it’s more than just a dessert; it’s a comforting experience that warms the heart. In this guide, you will learn the reasons why this recipe stands out, how to prepare it, and tips for serving your sweet creation.
The beauty of a Homemade Apple Pie Filling Recipe lies in its simplicity and versatility. You can customize it with your favorite spices, add a splash of lemon juice for tanginess, or even mix in some pears for a unique twist. With just a handful of ingredients and a little bit of time, you’ll have a luscious filling that brings joy to any gathering. So grab your apron, and let’s dive into the wonderful world of homemade apple pie filling!
Why You’ll Love This Recipe
The Homemade Apple Pie Filling Recipe is packed with reasons that will make your taste buds dance. Here are just a few:
1. Freshness Guaranteed – Using fresh apples provides a burst of flavor that canned options simply can’t replicate.
2. Customizable Sweetness – You can easily adjust the sweetness to suit your taste preferences, whether you prefer it sweeter or tart.
3. Perfect for Any Occasion – Whether it’s a holiday, birthday, or just a casual weekend treat, this filling is suitable for every event.
4. Easy to Make – The step-by-step instructions are straightforward, allowing even novice bakers to create something delicious.
5. Leftover Potential – You can use leftover filling in various ways, such as topping yogurt, pancakes, or oatmeal, enhancing your breakfasts or snacks.
6. Family Bonding Experience – Making pie filling can be a fun activity with family or friends, creating lasting memories in the kitchen.
With these highlights, it’s easy to see why so many people cherish making their homemade apple pie filling. Each spoonful captures the essence of apple orchards and warm kitchens, making it a recipe you’ll return to time and again.
Preparation and Cooking Time
Creating the Homemade Apple Pie Filling Recipe involves a few straightforward steps, making it accessible for everyone. Here’s a breakdown of the time required:
– Preparation Time: 15-20 minutes
– Cooking Time: 15-20 minutes
– Cooling Time: 10 minutes (optional, but recommended for better texture)
In total, you can expect to spend about 40-50 minutes from start to finish. This timing may vary slightly depending on the speed of your prep work and the specific type of apples used.
Ingredients
– 6-8 medium apples (such as Granny Smith, Honeycrisp, or Fuji)
– ¾ cup granulated sugar (adjust to taste)
– 2 tablespoons lemon juice
– 2 teaspoons ground cinnamon
– ¼ teaspoon ground nutmeg
– 2 tablespoons cornstarch (optional, for thickening)
– 1 tablespoon unsalted butter
– Pinch of salt
Step-by-Step Instructions
Creating delicious homemade apple pie filling is simple if you follow these steps:
1. Prepare Apples: Peel, core, and slice the apples into thin wedges or slices. Place the prepared apples in a large bowl.
2. Add Lemon Juice: Drizzle lemon juice over the apples to prevent browning and enhance flavor. Toss to coat the apple slices evenly.
3. Combine Dry Ingredients: In a separate bowl, mix together the granulated sugar, cinnamon, nutmeg, cornstarch, and a pinch of salt.
4. Mix Together: Pour the dry mixture over the apples and gently toss until all the apples are coated.
5. Cook Apple Mixture: In a large saucepan, melt the butter over medium heat. Add the apple mixture and stir gently to combine.
6. Cook Until Softened: Cook for about 15-20 minutes until the apples are tender but not mushy. Stir occasionally to prevent sticking.
7. Cool the Filling: Remove the mixture from heat and let it cool for at least 10 minutes before using or storing. The filling will thicken as it cools.
This step-by-step guide will ensure you achieve a wonderfully flavored apple pie filling that can be used in a variety of recipes or frozen for later use.
How to Serve
Once you have your homemade apple pie filling ready, consider these serving tips to elevate your dessert experience:
1. Classic Apple Pie: The most popular use, simply fill a prepared pie crust with the apple filling, cover it with another layer of pastry, and bake according to a standard pie recipe.
2. Crisps and Crumbles: Use the filling as a base for apple crisps or crumbles. Top with oats, brown sugar, and butter for a delightful crunchy contrast.
3. Toppings: Serve your pie warm with a scoop of vanilla ice cream or a dollop of whipped cream for a classic combination.
4. Breakfast Delights: Use the filling in pancakes, waffles, or as a topping for oatmeal to add a delicious fruity twist to your morning routine.
5. Dessert Jars: Layer the filling with yogurt and granola in a jar for an elegant dessert parfait that’s both healthy and indulgent.
By exploring these serving suggestions, you’ll make the most of your homemade apple pie filling, ensuring every bite brings joy to your family and friends. Enjoy the delightful experience that comes with baking and serving this incredible treat!
Additional Tips
– Choose the Right Apples: For the best flavor and texture, use a mix of sweet and tart apples, such as Granny Smith and Honeycrisp. This combination offers depth in flavor.
– Adjust Your Spices: Feel free to add your favorite spices. Cardamom, ginger, or even a hint of allspice can give your filling a unique twist.
– Taste Before Storing: Before you store your filling, taste it for balance. If needed, adjust the sweetness or spice levels.
– Let It Cool: Allow your filling to cool completely before using it in a pie. This helps the flavors meld together beautifully.
– Scale It Up: If you’re preparing for a gathering, consider doubling or tripling the recipe. This makes sure you have plenty to go around.
Recipe Variations
Get creative in the kitchen with these variations on the classic Homemade Apple Pie Filling Recipe:
1. Mixed Fruit Filling: Combine apples with pears, peaches, or even berries for a mixed fruit filling that brings different flavors and textures.
2. Caramel Apple: Add a swirl of caramel sauce to the filling for a richer, decadent treat that’s perfect for special occasions.
3. Spiced Apple: Try adding a pinch of clove or a splash of vanilla extract to deepen the flavor profile of your filling.
4. Oat-Topped Crisps: Use your filling as a base for a rustic apple crisp, topping it with a mixture of oats, flour, butter, and brown sugar.
Freezing and Storage
– Storing Your Filling: If you have leftover apple pie filling, store it in an airtight container in the refrigerator. It can last for 4-5 days.
– Freezing Instructions: To freeze, let the filling cool completely. Transfer it to a freezer-safe bag or container. Be sure to leave some space for expansion. It can be frozen for up to 3-6 months.
– Thawing: When you’re ready to use your frozen filling, simply transfer it to the refrigerator overnight to thaw. You can also use the microwave for quicker defrosting.
Special Equipment
To ensure your homemade apple pie filling turns out perfectly, gather the following essential tools:
– Large Mixing Bowl: For combining apples and other ingredients.
– Sharp Knife and Cutting Board: For peeling and slicing apples efficiently.
– Measuring Cups and Spoons: Accurate measurements are key for the best flavor.
– Large Saucepan: A heavy-bottomed saucepan helps cook the apple filling evenly without burning.
– Wooden Spoon or Spatula: For gently stirring the apple mixture as it cooks.
Frequently Asked Questions
How do I choose the best apples for pie filling?
Look for a combination of sweet and tart varieties, such as Granny Smith and Fuji, to achieve a balanced flavor.
Can I use pre-sliced apples?
While convenient, pre-sliced apples may not be as fresh or flavorful as those sliced at home. It’s best to use whole apples for optimal taste.
What if I don’t have cornstarch on hand?
You can substitute with all-purpose flour, but keep in mind that it may slightly alter the filling’s consistency.
How do I know when my filling is done cooking?
When the apples are tender but still hold their shape, and the filling is bubbly and thickened, it’s ready to be cooled.
Can I make the filling ahead of time?
Absolutely! You can prepare it a day or two ahead and store it in the fridge until you’re ready to use it.
Conclusion
The Homemade Apple Pie Filling Recipe is versatile and delightful, making it a must-have in your culinary repertoire. Not only does it allow you to explore various flavors with different spices and apple combinations, but it also enhances any dessert experience, from classic pies to innovative breakfast dishes. Making your filling from scratch guarantees freshness that truly uplifts the flavors and aromas in your kitchen. As you embark on this delicious journey, remember that the memories you create in the kitchen will be as sweet as the pie filling itself. Enjoy every moment of this fruitful adventure!