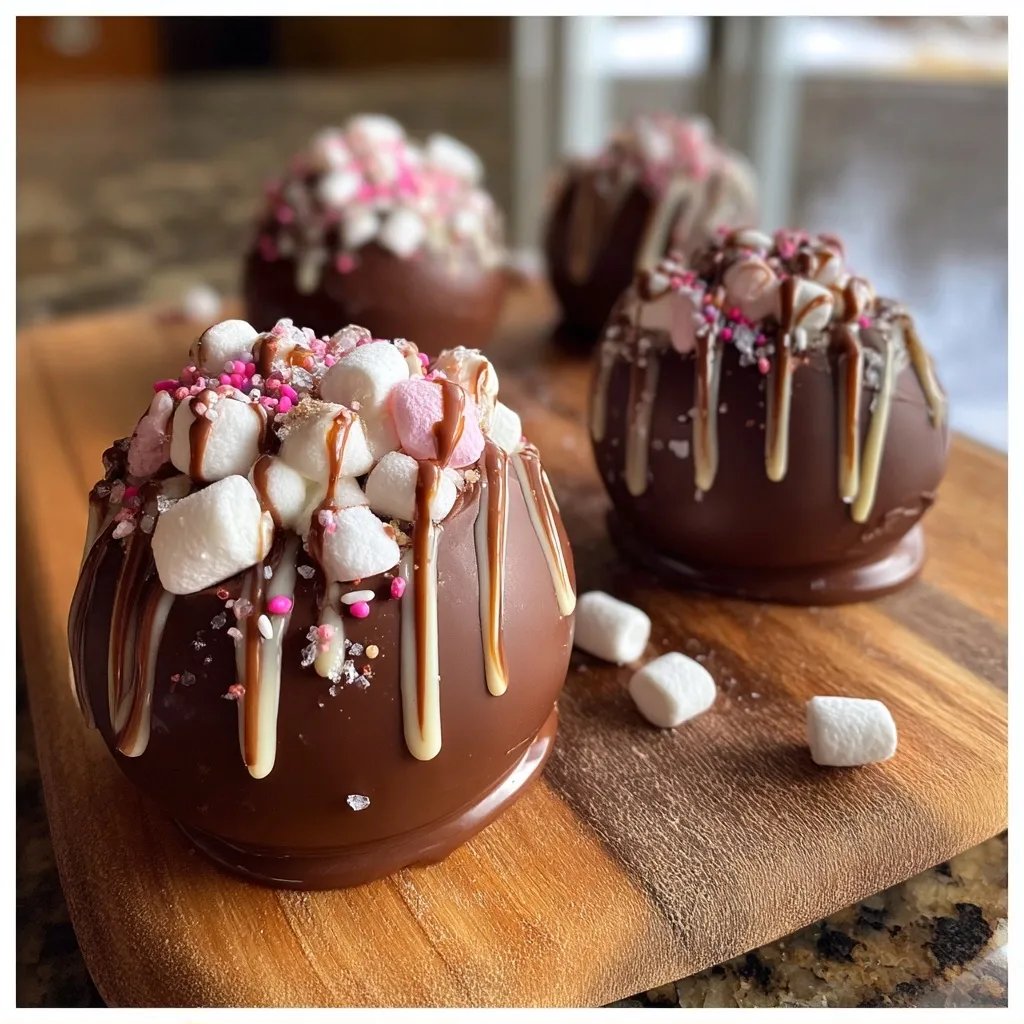
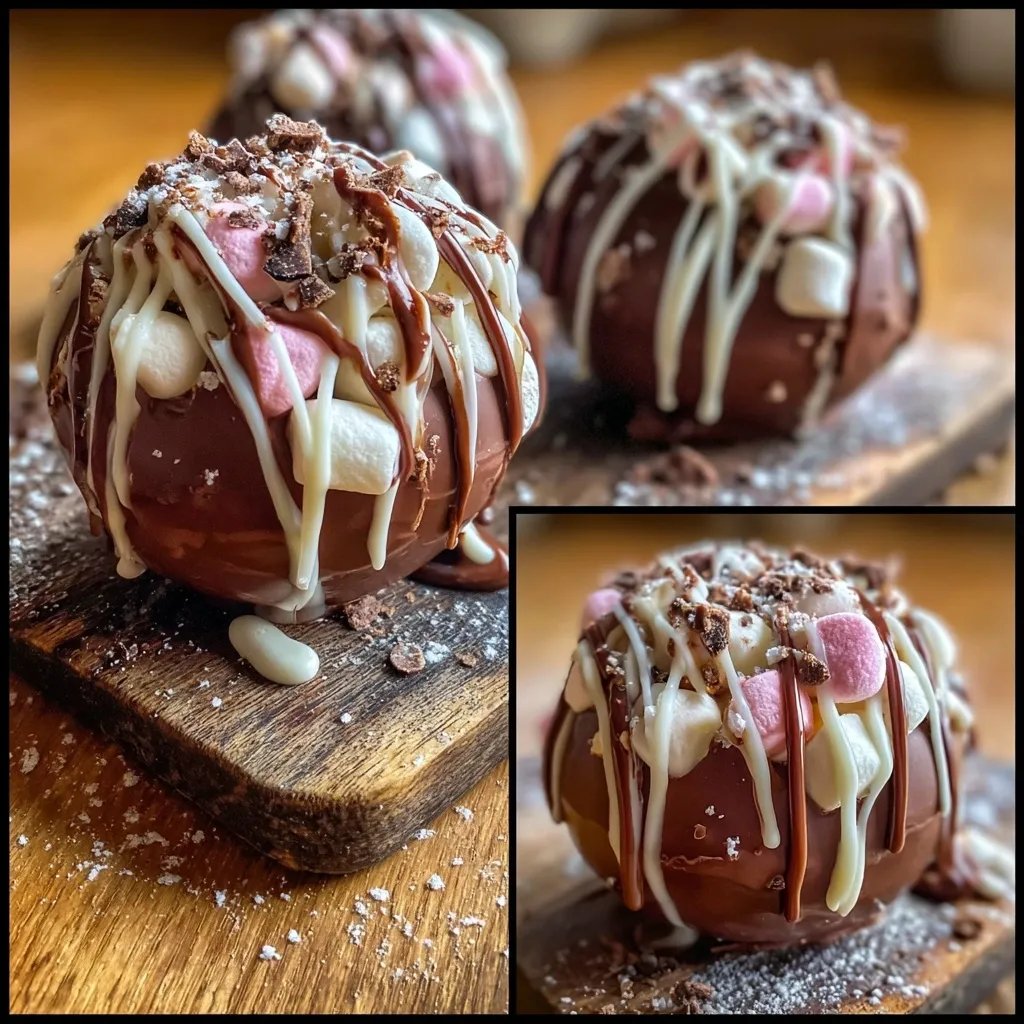
Hot Chocolate Bombs
Highlighted under: Indulgent Baking Ideas
My friends and I had a cozy movie night last winter, and someone decided to surprise us with hot chocolate bombs. Watching those little beauties melt into a mug of warm milk was a highlight of the night, and I've been making them ever since. They're such a fun treat, and they're way easier to make than they look. Honestly, the kids love them, and I can sneak in some extra marshmallows for myself.
Since that night, I've definitely made some adjustments to my approach, especially when it comes to the chocolate coating. The first few batches had cracks, and I figured out that the key is to temper the chocolate properly. It helps make those bombs not just pretty, but also sturdy enough to withstand a little handling.
What really gets me every time is how the kids' eyes light up when they see the cocoa mix and marshmallows spilling into their mugs. They absolutely love adding their own toppings, and honestly, it makes for a lovely little activity when we have friends over. Next time, I might try adding in a sprinkle of cinnamon or peppermint for some extra fun!
What I Love About This
- They look super impressive but are really simple to make
- Kids love watching them melt into the milk
- You can mix and match fillings according to your taste
Choosing Your Ingredients
The key to a great hot chocolate bomb is the chocolate itself. I really like using Ghirardelli chocolate chips because they melt beautifully and have a rich flavor. You can use any brand you prefer, but be careful with lower quality chocolates, as they might not melt smoothly. For a fun twist, consider dark chocolate, or even white chocolate if you're feeling adventurous.
When it comes to the hot cocoa mix, any brand will do. If you have a favorite, use that! Also, feel free to sneak in some flavored cocoa mixes like salted caramel or hazelnut for a unique touch. The mini marshmallows are a must, but sometimes, I'll swap in different fillings, like crushed Oreos or holiday-themed candies. Honestly, it's up to what you love.
A Quick Note on Hot Chocolate Bombs
These little treats don’t just look fun, they’re a delight to make and watch. The melting process is the best part, as you get to see all those goodies combine with the milk. Kids will giggle and come running when they see you preparing them. If you feel creative, you could adjust the size of the molds; just keep an eye on the filling so it doesn't overflow.
If you find yourself struggling with the chocolate setting, it might be due to the temperature. If your kitchen is too warm, it can take a bit longer to harden. Just be patient and pop them in the fridge for a bit longer. I don't always wait the full ten minutes, but it definitely helps when the chocolate is fully set to prevent cracks later.
Ingredients
Gather these ingredients before you begin:
For the Hot Chocolate Bombs
- 2 cups of chocolate chips (I prefer Ghirardelli for the smoothness)
- 1 cup of hot cocoa mix (any brand you like)
- 1 cup of mini marshmallows
- Optional: crushed peppermint or sprinkles for decoration
Now that you have everything, let’s make some magic!
Instructions
Follow these steps to make your hot chocolate bombs:
Melt the Chocolate
In a microwave-safe bowl, melt the chocolate chips in 30-second intervals, stirring in between to make sure they don’t burn. You want it smooth and melty. If you notice it getting too hot, let it sit for a minute before continuing.
Coat the Molds
Once melted, use a spoon or brush to transfer some chocolate into the silicone molds. Make sure you cover the entire surface with an even layer. I usually do two coats to avoid cracks. Stick it in the fridge for about 10 minutes to set.
Fill and Seal
Once the chocolate is set, carefully pop them out of the molds. Place half of them face down and add a spoonful of cocoa mix, followed by a small handful of marshmallows. Place a second half on top and press gently to seal them. If needed, you can melt a little extra chocolate to seal the edges.
Decorate
Melt a bit more chocolate and drizzle it over the tops of each bomb for a pretty touch. Add any toppings you like, like sprinkles or crushed peppermint, and let them cool completely.
Serve
When you're ready to enjoy, just drop a bomb into a mug and pour hot milk over it. Watch it melt and release the goodness inside.
Enjoy your delicious hot chocolate bombs!
Pro Tips
- Use silicone molds for easier removal, they work like a charm.
- You can add flavored extracts like vanilla or almond for a twist.
- Make extras and store them in an airtight container for a cozy drink anytime.
Troubleshooting
One issue I sometimes run into is having the chocolate crack when I try to remove them from the molds. If this happens, I usually just melt a little more chocolate to patch them up. It's not the end of the world if they break a bit; honestly, they still work just fine and taste amazing when they're in the milk. If your chocolate seems too thick or doesn’t coat well, adding a teaspoon of vegetable oil can help thin it out.
Another thing to keep in mind is how to properly seal the bombs. If you're feeling stuck, just double-check to make sure you're pressing them together firmly enough, and a bit of melting chocolate can act like glue. If they still aren't holding, they might need a little more chocolate around the edges.
Hot Chocolate Bombs Variations Worth Trying
If you want to change things up a bit, consider using different types of milk or adding flavor extracts to your milk, like vanilla or peppermint. Pairing a mocha bomb with whipped cream and a sprinkle of cocoa can turn a basic cup into a treat. You can also switch up the decoration on top; colorful sprinkles or crushed candy canes really add a festive touch.
For a seasonal twist, why not try making pumpkin spice hot chocolate bombs in the fall? Just mix in some pumpkin spice with your cocoa mix, and you’ll have a hit on your hands. And hey, if you're in a pinch, store-bought hot cocoa mix will do fine too, especially if you're crunched for time.
Questions About Recipes
→ Can I make these ahead of time?
Absolutely! They keep well in an airtight container for about a week. Just make sure they’re sealed properly to prevent them from getting moisture.
→ What else can I put inside?
Go wild! You can add chocolate sprinkles, crushed cookies, or even a splash of flavored syrup. Just make sure whatever you add fits in the molds.
→ Do I need special molds?
Not really, but silicone molds are the easiest. You might struggle a bit with plastic molds, so I would recommend the silicone ones if you can.
→ How many can I make with this recipe?
This should make about 6-12 bombs, depending on how full you fill the molds. I usually end up with a dozen small bombs, which is just nice.
→ Can I use white chocolate?
Of course! White chocolate works too, but keep an eye on it while melting as it can burn easier. Just be ready for a different taste!
Hot Chocolate Bombs
Created by: The Meals By Sophia Team
Recipe Type: Indulgent Baking Ideas
Skill Level: Intermediate
Final Quantity: 12.0
What You'll Need
For the Hot Chocolate Bombs
- 2 cups of chocolate chips (I prefer Ghirardelli for the smoothness)
- 1 cup of hot cocoa mix (any brand you like)
- 1 cup of mini marshmallows
- Optional: crushed peppermint or sprinkles for decoration
How-To Steps
In a microwave-safe bowl, melt the chocolate chips in 30-second intervals, stirring in between to make sure they don’t burn. You want it smooth and melty. If you notice it getting too hot, let it sit for a minute before continuing.
Once melted, use a spoon or brush to transfer some chocolate into the silicone molds. Make sure you cover the entire surface with an even layer. I usually do two coats to avoid cracks. Stick it in the fridge for about 10 minutes to set.
Once the chocolate is set, carefully pop them out of the molds. Place half of them face down and add a spoonful of cocoa mix, followed by a small handful of marshmallows. Place a second half on top and press gently to seal them. If needed, you can melt a little extra chocolate to seal the edges.
Melt a bit more chocolate and drizzle it over the tops of each bomb for a pretty touch. Add any toppings you like, like sprinkles or crushed peppermint, and let them cool completely.
When you're ready to enjoy, just drop a bomb into a mug and pour hot milk over it. Watch it melt and release the goodness inside.
Extra Tips
- Use silicone molds for easier removal, they work like a charm.
- You can add flavored extracts like vanilla or almond for a twist.
- Make extras and store them in an airtight container for a cozy drink anytime.
Nutritional Breakdown (Per Serving)
- Calories (kcal): 150
- Total Fat (g): 8
- Saturated Fat (g): 4.5
- Cholesterol (mg): 0
- Sodium (mg): 35
- Total Carbohydrates (g): 19
- Dietary Fiber (g): 1
- Sugars (g): 15
- Protein (g): 2