No Knead Bread
Highlighted under: Indulgent Baking Ideas
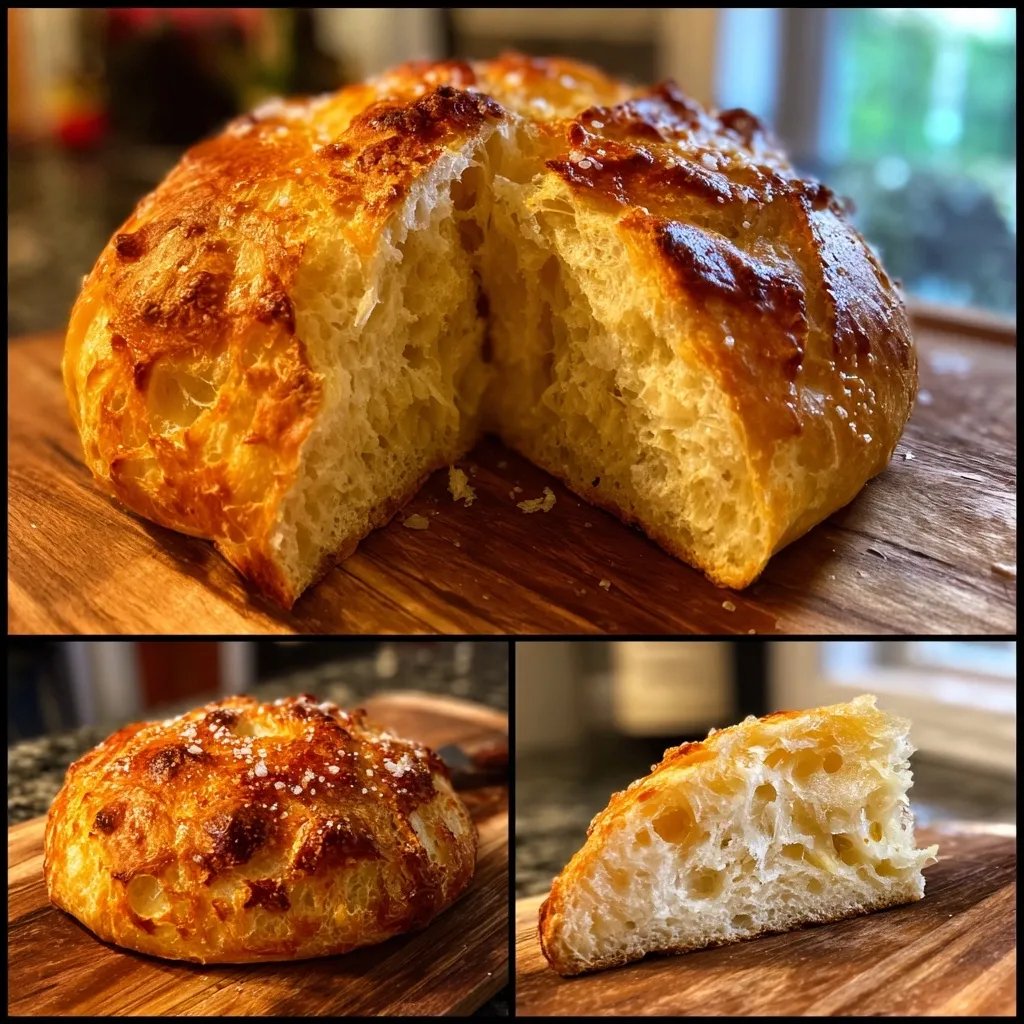
Ever tried to make bread but felt overwhelmed by the kneading? I get it. This no knead bread recipe saved me from dough disasters and guess what, it turns out so good you won't believe how easy it is. My friends always rave about how crusty the outside is while remaining soft inside, and it’s perfect for dipping into soups or spreading a bit of butter on. Trust me, you’ll want to make it every week.
The first time I attempted no knead bread, I thought I’d done everything right and then somehow ended up with a hard brick. Turns out, I had forgotten to let it rest longer, and my patience ran short. Learning that fermentation is key has changed my batch game. Now, I give it time to work its magic, and I get that airy texture that we’re all after.
Since then, the house always smells warm and inviting when this bread is in the oven. It’s great for gatherings, and my partner loves to have it with olive oil for dipping. Even if I stumble and forget to cover it during the last few minutes, it still tastes amazing—though not as beautiful.
What I Love About This
- The crust gets super crispy without any fuss
- You probably have all the ingredients already
- It’s a great way to impress friends with minimal effort
What to Know Before Making No Knead Bread
Making no knead bread is surprisingly simple, but there are a few things that can make your efforts even more rewarding. First, the flour you choose matters. While all-purpose flour works beautifully, using bread flour can give you a slightly chewier texture, which I find delightful. If you’re feeling adventurous, try adding a tablespoon of whole wheat flour for a hint of nuttiness.
Patience is key here. The longer the dough rests, the better the flavor develops. Seriously, if you can leave it to rise for a full 18 hours, you'll notice a big difference in taste and texture. I sometimes set this up in the evening and it’s ready for baking the next day, which makes meal planning so much easier.
Ingredients
Gather these ingredients and let’s get started!
Bread Ingredients
- 3 cups all-purpose flour
- 1/4 tsp instant yeast
- 1 1/4 tsp Diamond Crystal kosher salt
- 1 1/2 cups water
Mix these together, and you’ll be on your way to a loaf that’s just like the ones from your favorite bakery!
Instructions
Follow these steps for wonderfully baked no knead bread.
Mixing the Dough
In a large bowl, combine the flour, yeast, and salt. Pour in the water and mix until everything is combined into a sticky dough. Don’t worry about kneading it—just stir until no dry flour remains. It’ll look a bit messy, but that’s okay.
Letting It Rise
Cover the bowl with plastic wrap and let it sit at room temperature for about 12 to 18 hours. Preferably overnight. You’ll know it’s ready when it’s bubbly and doubled in size. Seriously, the longer you wait, the better it gets!
Shaping the Bread
After your dough has risen, generously flour a work surface and scrape the dough out onto it. It will be sticky, which means it’s good. With floured hands, fold the dough over itself a few times and form it into a ball. You don’t need to worry about perfecting the shape here.
Second Rise
Place the dough on a floured piece of parchment paper, then cover it with a cloth. Let it rise for another 1 to 2 hours. If you go a bit longer, no worries—the dough will be fine, just don’t leave it too long or it might deflate.
Baking
About 30 minutes before you're ready to bake, preheat your oven to 450°F (230°C) and place a Dutch oven (I use my Lodge cast iron) inside to heat. When that’s hot, carefully remove it and lift the parchment with the dough into the pot, cover it, and bake for 30 minutes. Then remove the lid and bake for an additional 15 minutes until it’s golden brown.
Cooling
Once it's out of the oven, let the bread cool on a wire rack for at least 30 minutes before slicing. It’s tempting to cut right in, but trust me on this one—it’s better if you wait a bit!
Now that you know how to make this bread, enjoy it with whatever you like!

No Knead Bread Leftovers Plan
This bread is best enjoyed fresh, but it does keep surprisingly well. If you find yourself with leftovers, wrap them in a kitchen towel and store them at room temperature for a day or two. If it starts to feel stale, try slicing it and toasting it for breakfast or serving it alongside a salad. You can also make croutons by cubing the bread, tossing it with some olive oil and seasonings, and baking them until crispy.
For longer storage, consider freezing the bread. Just slice it first and then wrap the pieces in plastic wrap, followed by aluminum foil. When you're ready for a slice, pop it in the toaster straight from the freezer. It works really well and still tastes delicious!
Dietary Swaps
If you're looking to make the bread gluten-free, there are some great gluten-free all-purpose flour blends out there now. Just make sure to choose one that includes xanthan gum, as it helps mimic the chewy quality of regular bread. I haven’t tried every brand, but some have worked surprisingly well for me.
For a dairy-free version, you can simply stick to the recipe as is since there are no dairy ingredients involved. If you want to add some herbs or spices, they can also be a fun way to change things up. I’ve tossed in some dried rosemary or garlic powder, and it adds a lovely touch without complicating the process.
Questions About Recipes
→ Can I use whole wheat flour?
You can, but I wouldn't suggest it for the whole batch. Maybe try half whole wheat and half all-purpose for a nice balance, as whole wheat can make things denser.
→ What if my dough isn’t rising?
Honestly, that can happen if your kitchen is too cold. Try placing it in a warmer spot or wrapping it in a towel to keep the warmth in. And make sure your yeast is fresh!
→ Can I add herbs or cheese?
Absolutely! I love mixing in some dried rosemary or a handful of cheese once the dough is formed. Just be careful not to add so much that it affects the dough’s structure.
No Knead Bread
Created by: The Meals By Sophia Team
Recipe Type: Indulgent Baking Ideas
Skill Level: Beginner
Final Quantity: 1.0
What You'll Need
Bread Ingredients
- 3 cups all-purpose flour
- 1/4 tsp instant yeast
- 1 1/4 tsp Diamond Crystal kosher salt
- 1 1/2 cups water
How-To Steps
In a large bowl, combine the flour, yeast, and salt. Pour in the water and mix until everything is combined into a sticky dough. Don’t worry about kneading it—just stir until no dry flour remains. It’ll look a bit messy, but that’s okay.
Cover the bowl with plastic wrap and let it sit at room temperature for about 12 to 18 hours. Preferably overnight. You’ll know it’s ready when it’s bubbly and doubled in size. Seriously, the longer you wait, the better it gets!
After your dough has risen, generously flour a work surface and scrape the dough out onto it. It will be sticky, which means it’s good. With floured hands, fold the dough over itself a few times and form it into a ball. You don’t need to worry about perfecting the shape here.
Place the dough on a floured piece of parchment paper, then cover it with a cloth. Let it rise for another 1 to 2 hours. If you go a bit longer, no worries—the dough will be fine, just don’t leave it too long or it might deflate.
About 30 minutes before you're ready to bake, preheat your oven to 450°F (230°C) and place a Dutch oven (I use my Lodge cast iron) inside to heat. When that’s hot, carefully remove it and lift the parchment with the dough into the pot, cover it, and bake for 30 minutes. Then remove the lid and bake for an additional 15 minutes until it’s golden brown.
Once it's out of the oven, let the bread cool on a wire rack for at least 30 minutes before slicing. It’s tempting to cut right in, but trust me on this one—it’s better if you wait a bit!
Nutritional Breakdown (Per Serving)
- Calories (kcal): 210
- Total Fat (g): 0.8
- Saturated Fat (g): 0.1
- Cholesterol (mg): 0
- Sodium (mg): 487
- Total Carbohydrates (g): 43.2
- Dietary Fiber (g): 1.8
- Sugars (g): 0.4
- Protein (g): 6.9